Sunday, August 25, 2013

August AIR project #3 DUDE card

I started to use SPECTRUM NOIR alcohol markers from Crafters' Companion last month, more I use, more I love them!

So, I choose coloring project for this month's last assignment.


Supplies:

  • IMAGINE Crafts®/Tsukineko® Memento™ Dye Ink 0 Tuxedo Black
  • IMAGINE Crafts®/Tsukineko® Brilliance™ Pigment Ink - Graphite Black
  • IMAGINE Crafts®/Tsukineko® Jumbo Daubers™
  • Crafter's Companion  Spectrum Noir
  • Crafter's Companion Toread ZERU stamp set
  • Spellbinders Nestabilities Die Label 4, Shapabilities Pendants Lattice
  • Rhinestone - Hero arts
  • Printed Paper - Graphic45


Stamp XERU image on white cardstock with Memento dye ink Tuxedo Black

Skin colors


After this, add more shade with TN7

Stick and shoes colors


after this, TB3 is used for deeper shade


Hair colors

DG3 and DG4 was used as deeper shade after this step

Leaves colors

CG10 was used for cloth

give some textures of TL6

OR1 for string

IG1 for shade around the image

coloring is done

Cut the image with Nestabilities Label 4, then stencil edges with Brilliance Graphite Black. Jumbo Dauber makes nice frawless shading

done

assembled


I do love this TOREAD stamp series. They are cute and great for card to many situation and recipient.
Coloring this cute fairy with Spectrum Noir is very effective.

When you use any alcohol markers, always use MEMENTO DYE INK (white lid one)  to prevent breeding.


Thursday, August 15, 2013

August AIR project #2 - Authentique Paper

I'm so thrilled to use new designs from Authentique Paper named "Thrilling", halloween themed papers.

Since these paper are sturdy and heavy enough for making box, I designed a little surprise gift box.


Supplies:


  • Authentique Paper "Thrilling" series.
  • IMAGINE Crafts®/Tsukineko® Memento Luxe™ Mixed Media Pigment Ink - Tuxedo Black
  • IMAGINE Crafts®/Tsukineko® Jumbo Daubers™
  • IMAGINE Crafts®/Tsukineko® Vertigo ™
  • Spellbinders Nestabilities Circles (S4-114), Squares (S4-126)
  • Spellbinders - Holy Motifs die (S5-057)
  • Grosgrain ribbon
  • Paper Flower (Prima)
  • Black Pearls (Hero Arts)
  • craft glue

How To:


Cut four 3" Circles, 2 3" circles in contrast design, 2 3" Squares using Nextabilities die, or hand cut

Cut in half and make 4 half circles from contrast design

Fold in half 

Fold in half for four pieces of circles

For box bottom, cut 10-1/2" square.

Score 3-1/2" from each side (make # score line)

Fold diagonally all four corner blocks and fold up to make box

Ink edge with Memento Luxe Tuxedo Black using Jumbo Dauber

Ink edges for all circles and half circles, and one square.

Ink box edges too.

Take circles, glue just half  of wrong side 

Adhere to square piece (uninked one)

Adhere half circles to each corner. 

This will be the lid for the box

Cut Holly Motif from black card stock. Adhere "Magic" label sticker from the paper collection.

Adhere to the lid top

Apply grosgrain ribbon, paper flower and black pearl to the lid. Also sticker flags are applied for box sides.

Make a Vertigo ghost, Heat the Vertigo film with heat gun. Shape when it get soft enough. (Be careful - it's very hot) 

Applly wiggle eyes, then glue to the inked suare, then adhere to inside of box buttom 


Note: Vertigo film is not flexible even heated enough, I just wanted to try it and share my experience.

I'll make a few more boxes and fill them with candies for this years Halloween.


Thursday, August 8, 2013

August AIR project #1 VERTIGO


As my last posting, Imagine Crafts/Tsukineko announced a new product called VERTIGO which is clear film has detailed textures for interesting effect.

We AIR team started to try on this brand new material earlier, each member come up to unique idea.  Here's mine.


SUPPLY

IMAGINE Crafts Vertigo
IMAGINE Crafts®/Tsukineko® Memento Luxe™ Mixed Media Pigment Ink - Wedding Dress
IMAGINE Crafts®/Tsukineko® StazOn® Solvent Inks
Spellbinders Nestabilities Circle
Nunn Design Rosary Link Chain
Stamp - Magenta
Stencil - Crafter's Workshop
Jump Ring, bead, metal beads
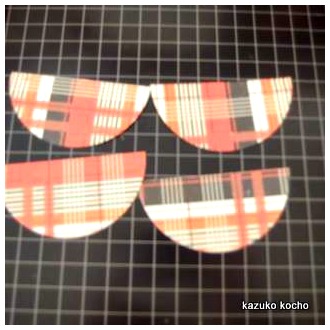
How to:

Stencil leaves with MEMENTO LUXE - wedding dress


Let it dry.  It only takes a few minutes.


DTP StazOn  over the stenciled image.

Started with StazOn - Fuchsia Pink
Add StazOn - Black Cherry and Cherry Pink. Let it dry


Turn over - stamp script background (Magenta) with StazOn - Jet Black

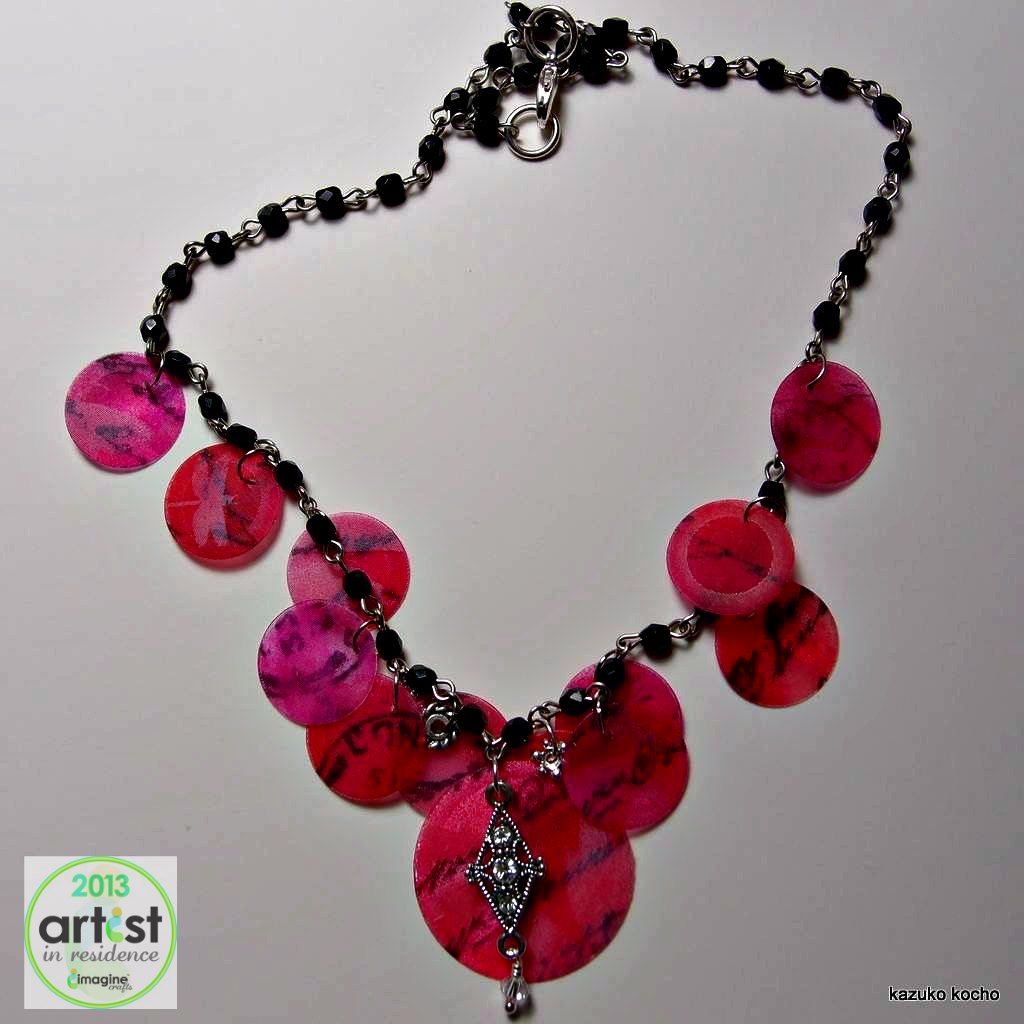
Cut out with Nestabilities circles. Smallest and second smallest circles are used here.

Puch a tiny hole for jump ring.  I used plier type 1/16" punch

Attach to Rosary Link Chain

Add some metal beads and charm